Item Categories
This article will walk you through steps for managing and organizing your item categories. Including how to add and delete a category.
From the Auction Manager, there are two ways to access and manage your categories: when adding a new item and from the main auction dashboard.
When Adding a New Item
Click the up/down arrow in the 'Select Category' box, you will see the Categories already created either manually or via upload.
- Select an existing category from the drop-down menu if your category does not show, or you can use this form to add a new one by clicking add.
- Then add your desired category.
/Info%20Tab%20(Auction%2c%20P2P%2c%20Campaign).png?width=688&height=598&name=Info%20Tab%20(Auction%2c%20P2P%2c%20Campaign).png)
When In Auction Dashboard
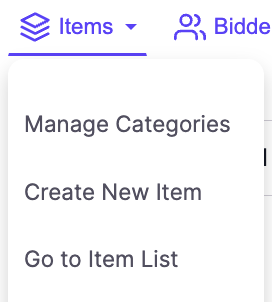
1. Select the items icon at the top of the auction manager
2. Select Manage Categories

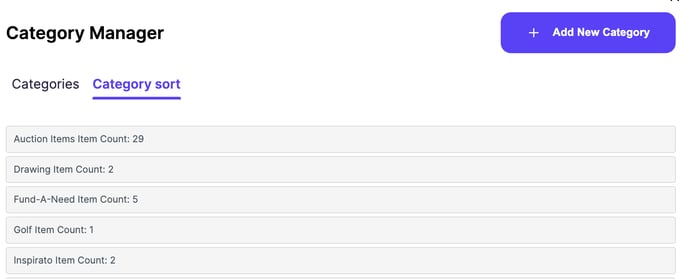
2. To change the order in which your categories show up in the app, select the sorting icon from the categories window. Drag the categories to the order you want them to appear. Your order is automatically saved. Select CLOSE when you are done.


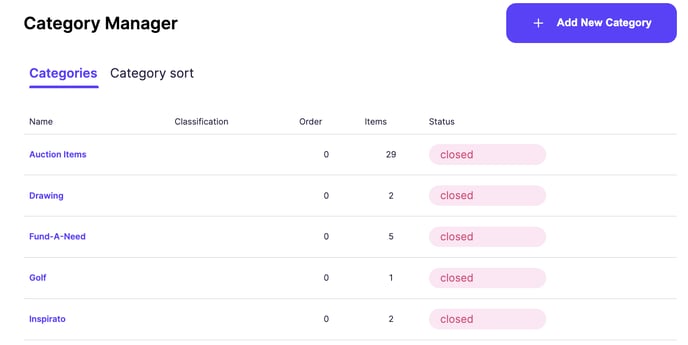
3. To delete a category click on the trash can to the right of the category name (NOTE: Please ensure you have moved any items to a new category before deleting. )
4. Click on a category title to edit its name.
