The Handbid Puzzle is a creative way to raise funds for your cause!
What is the Handbid Puzzle?
Think of the Handbid Puzzle as a form of "thermometer" to track your progress toward a goal.
With the Handbid Puzzle, each piece represents a step toward your overall goal. When the puzzle is complete, the goal has been reached.
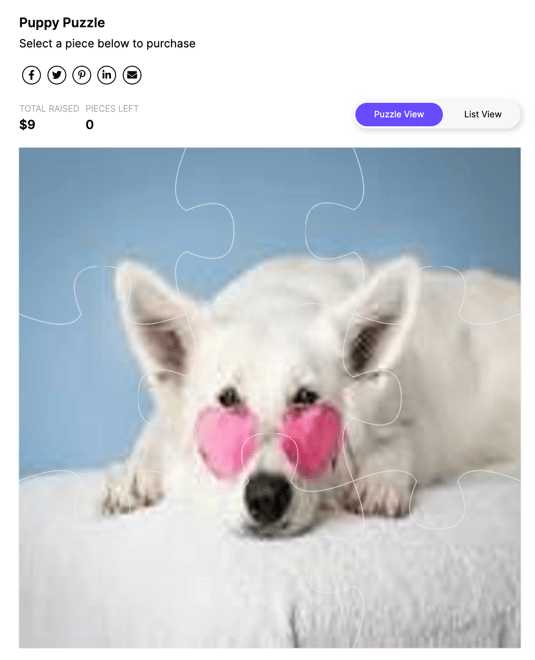
To make it interesting, the Handbid Puzzle shows a before and after image. Before any pieces have been purchased, the Puzzle shows a "before" image. As pieces are purchased, the "after" image begins to be revealed. The "After" image is fully revealed to your donors when all pieces have been purchased.
An example of a "before" image:
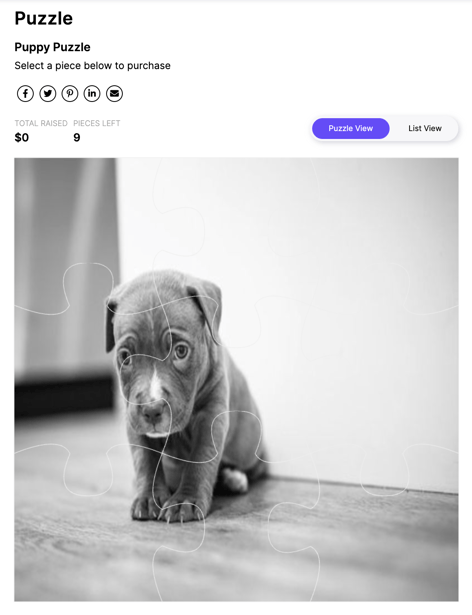
As pieces are purchased, the "before" photo will transform into the "after" photo.
You can display a puzzle at your event with Handbid TV! Click here for more information on Handbid TV.
To set up a puzzle go to Items - Create New Item - Puzzle.
Item Info
- Name your Puzzle (we suggest you make the name describe your project goal (e.g Build a Well or Cure a Disease)).
- Set your goal. You will determine the number of pieces you want (rows x. columns) and your Puzzle piece price.
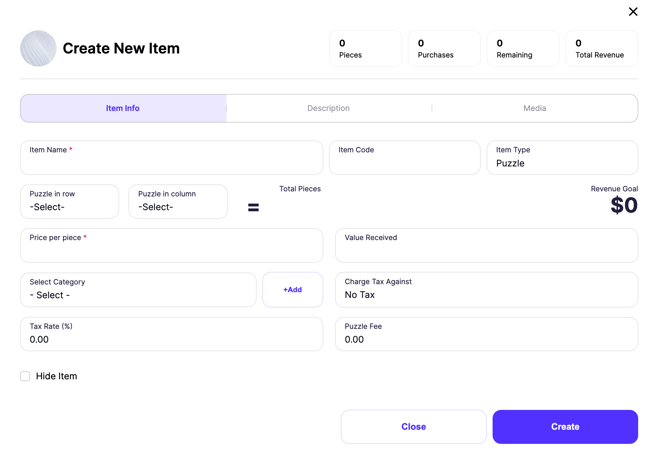
- Complete the remaining fields as you see fit.
- Item Code (any alphanumeric code can work here. This is for your use)
- Value Received (if there is a quid-pro-quo donation)
- Category (for this item to appear on the mobile apps, you must select a category)
- Tax Against and Tax Rate
- Status (the item will be created in a pending state and will be opened either when you open your auction or when you change this status to OPEN after creating it)
Description
- Add a description of your project and the overall purpose and goal. Be as descriptive as you like. You have an 8,000-character limit.
- Fine Print. This is where you can put in any disclaimers or technical details about their donation (e.g., all proceeds go to xxx or x% of all contributions will go to pay administrative feeds, etc.) Anything you feel you need to disclose, you can put it here.
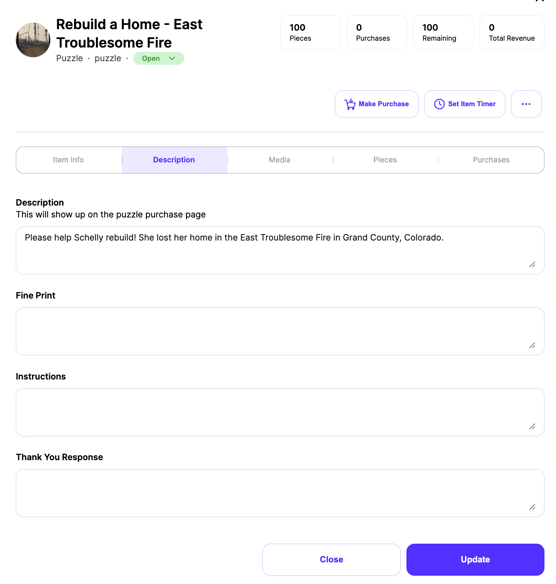
- Instructions. These instructions print on the Puzzle page just above the Puzzle. This is where you can give some brief instructions to the purchaser on what they need to do. For example: "Purchase a piece below to deliver 1,000 gallons of water to a village in Africa", etc.
- Thank You Response. This custom message will appear to anyone who purchases a Puzzle piece.
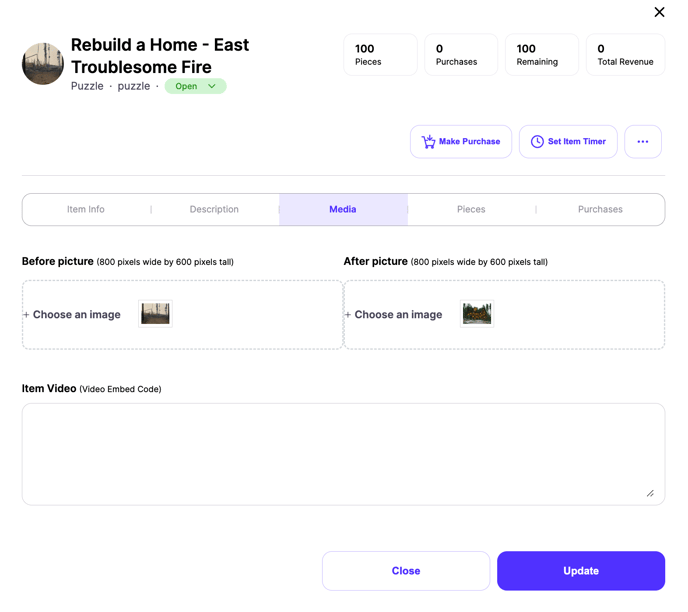
Media
Add your BEFORE and AFTER photos and preview how it will look.
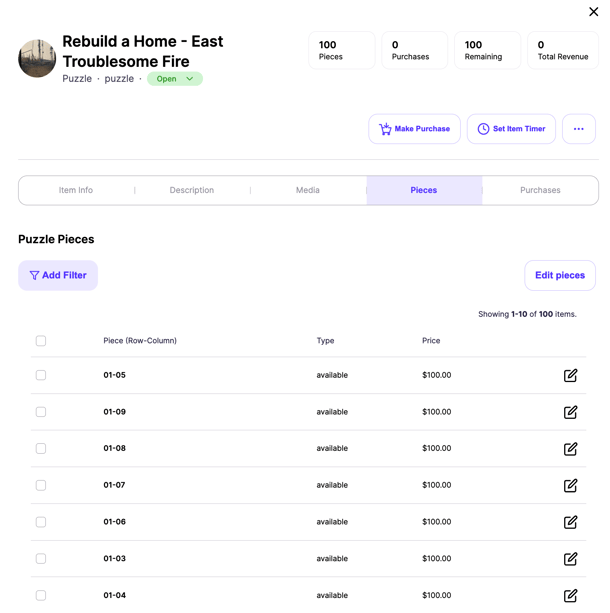
Pieces
Once you set up your puzzle, you can change the price of each individual piece. Select the pieces you want, click the "edit pieces" button, type in the new price, and in the pop-up, click update.
What type of photos looks best?
This is where you need to put in a bit of thought. It will all depend on the type of Puzzle you create. If you create a 10w x 8h puzzle, then a landscape-oriented photo (e.g. an 8x10 or 768px x 1024px) will render the best.
Here is a recipe that should get you decent results:
- Use photos where the height-to-width ratio is not more than 2. For example, if you have a photo that is 1200 pixels wide, then make sure it is at least 600 pixels high.
- Photos that are close to a 1:1 ratio (square) will tend to do the best. Otherwise, stick with common photo format ratios for your best results: 4x6, 5x7, 8x10.
- Landscape photos will appear a bit better than portrait (e.g. 5h x 7w will be better than 7h x 5w).
- If you have a landscape photo and need to crop it down. You can use the crop tools inside of the image upload utility to crop your photo. The default (and only) ratio available right now for Puzzles is 4:3, which is the most common landscape format on the internet: 1024x768, 800x600, etc.)
Do not get too concerned about what the preview looks like, as that image has to fit into the preview pane when creating your item. Your photo will be more realistic when you view it on the web.
When you are done adding your BEFORE and AFTER photos (and have completed the data in the other tabs), you can hit "CREATE" to create the puzzle.
Be Patient! If you create a puzzle with a lot of pieces, it can take a minute or two for the puzzle to be created (Handbid is creating each puzzle piece). Once the puzzle is created, the window will close and the puzzle will appear in your item list.
There is also a filter on the left menu just below APPEALS where you can jump to see the Puzzles.
My Puzzle is created, so now how do I see it?
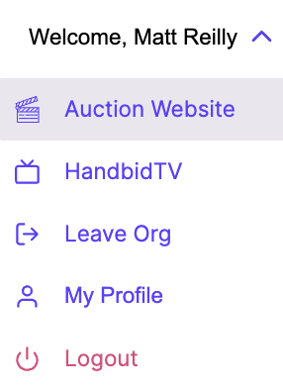
We bet you are eager to see the puzzle on the web. The best way to do this is to put your auction in Preview mode (if you are still in setup mode). Then go to the top-right menu in the manager and click on "Auction Website". This will open up a new tab and take you to the web landing page for your auction on the Handbid Events site.
You will now see a new Puzzle menu option on this page that will take users directly to your Puzzle page.

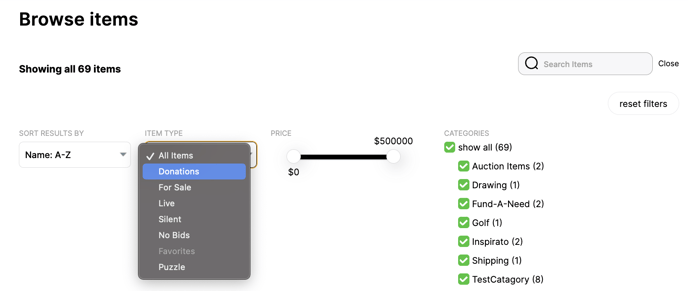
If you have auction items in this event, your Puzzle will also be visible to users from the Browse Items view on the Events site (see below)