How to Create a Campaign & Update Settings
Learn how to create a new campaign, copy a previous event and update event settings.
Different from an Auction or Peer-to-Peer, a Campaign is another method of fundraising through Handbid. Creating a Campaign site allows you to utilize most fundraising components including, Live Auction, ForSale Items, and Ticketing. You CANNOT utilize the Silent Auction or Peer-to-Peer features. Silent Auctions are only hosted by creating an Auction site and peer-to-peer fundraising is only accessible through creating a Fundraiser. If either of these options is what you're seeking to do, here is more information on Auctions and Peer-to-Peer.
Follow the steps listed in this article to learn how to create your event site. Or, skip ahead if you wish to duplicate a previous event site, or learn how to update your settings!
Step 1: Navigate to your Campaign Dashboard
You will first need to log in to your manager account. If you are a first-time user or wish to learn more about logging into your organization's manager account click here.
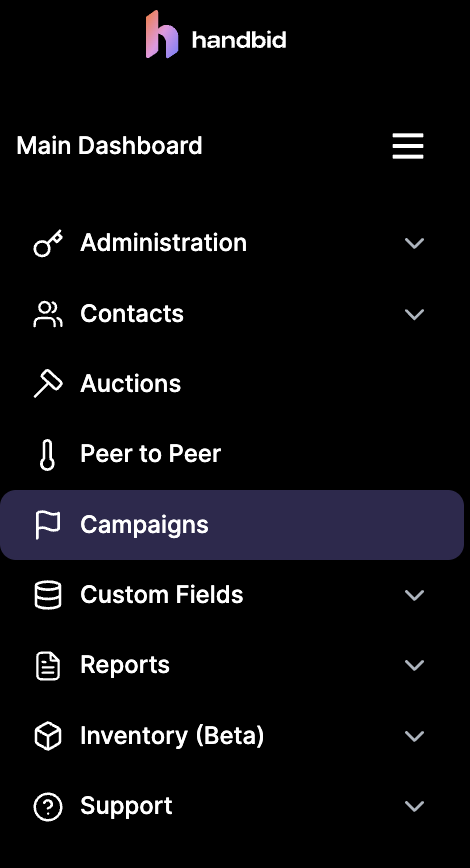
Once you are logged in and have created your Organizational settings, navigate to your Campaign Dashboard from the left menu.
Once you are in the events section, click on the + CREATE CAMPAIGN button.
Step 2: Create Your Campaign Settings
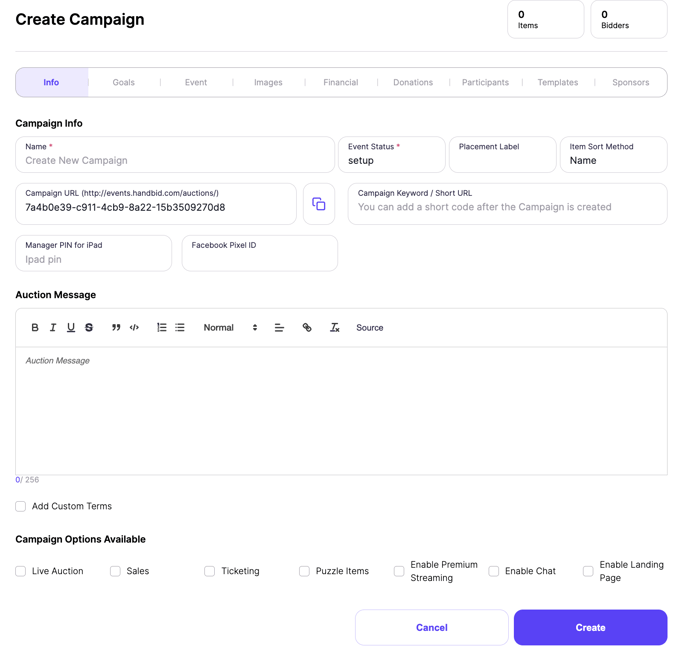
Once you click on the [+ Create Campaign] button, the settings window will appear. The first thing you'll need to do is give your campaign a name! The name creates the URL which cannot be changed, so make sure you pick a name that you love.
Below is a breakdown of the settings tabs. It's crucial that you take the time to go through each of these tabs and enter as much information as you can, as well as take each setting into consideration. Though you're always able to go back and update these settings at any time, it's good to know you're set up for success from the get-go.
NOTE: If you need to get your event site created quickly and want to come back to update your settings at a later time, the minimum information that needs to be input is: Contact Information, Event Name and Time Zone
Settings Tabs
The following tabs make up the Campaign Settings:
- Info - this consists of your basic event information (Name, URL, status, etc.)
- Goals -This is where you can set your fundraising goals for your auction
- Event - Event-related info goes here (start and end times, location, attire, description)
- Images - Your event images (logo, banner) as well as your Handbid TV images
- Financial - Financial settings (enable credit card purchases, require card on file, premiums)
- Donations - Set recurring donation settings (monthly, quarterly, annually) and restrictions
- Participants - Set your participant/guest restrictions or requirement settings here
- Templates - Your welcome message, invoice/receipt message, etc.
- Sponsors - Upload sponsor logos to recognize sponsors
Step 3: Complete Campaign Setup
Once you've completed your event settings, click [Create] and you'll be brought to your Event Dashboard where your new event will appear.
Update Settings
If you've already created your Campaign and need to go back to either complete or update your event settings, follow these easy steps!
- Using your Main Dashboard, Click into the Campaign tile, then click on the event you wish to update.
- Once in the Campaign, click on the settings gear wheel next to your event name at the top of your page.
.png?width=688&height=110&name=Event%20Settings%20(Gearwheel).png)
- This will open up the settings window. Click through the settings tabs and don't forget to click on the purple [UPDATE] button when you're finished.
Duplicate Previous Campaign Site
Save yourself some time and duplicate a previous event site. When you duplicate a site, most of your event settings will carry over. However, please take the time to review your settings to ensure accuracy. You can also carry over items from a previous event as well.
To Duplicate a Previous Campaign:
- In your Main Dashboard, click on the Events block
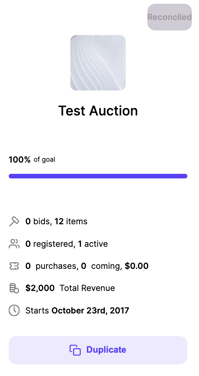
- Find the event you want to duplicate (don't click on it) then at the bottom of that event block, click on DUPLICATE at the bottom

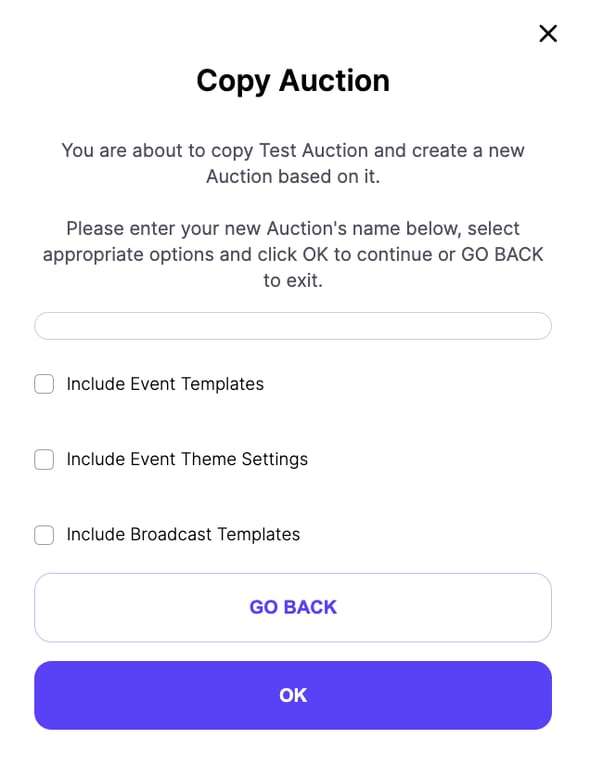
- When you click the DUPLICATE button, a window will appear asking you to input the name of your new event. Enter the name of your event then click OK to complete.
To save even more time, select the additional information you wish to copy over (Templates - Event & Broadcast) and Theme Settings.
Your new campaign name must be under 64 characters and must only contain letters, numbers, and spaces.

- You'll then be brought to your new Campaign dashboard.
IMPORTANT NOTE: click on the settings gear icon next to your event name at the top of the page, and review your settings, including events start / end dates and times.


